I decided to convert my original Cybots to run on 3.7v rechargeable batteries.
Demonstration of my Cybot running on rechargeable Li-Po batteries.
Components:

4 Number connectors with leads that fit the battery connectors.
2 Number Bucks, I'm using MH-MINI-360 DC-DC Buck

This modification is for Cybots that have the power upgrade from issues 53 and 54.


If the Cybot has the newer Power Board then this fix is not needed.


First Power Board, without 7808 Regulator.
Second Power Board with 7808 Regulator
The first thing to do is make the Adaptor Cable:
Trim the wires on the battery connectors and join as follows.


Next trim the remaining wires and solder them to the Bucks as shown.


Next add cables to the other side of the Buck.


Next Join the two Bucks in the following way.

The next thing to do, is get the plug from the 8xAA Battery Box:
First remove Batteries and the four screws holding the front panels of Cybot.

Carefully lift the front panels, and remove the battery plug, the two screws
holding the power board, and the four screws holding the 8xAA Battery Box.

Now remove the 8xAA Battery box and cut the plug from it with about 30mm wire.


Now solder the plug to the two Bucks.


Now the voltage needs setting on each Buck.
Each Buck needs to be set individually.
Connect four fully charged batteries to each of the sockets.

Using the adjustment potentiometer, carefully set the First Buck to 6 Volts.

Using the adjustment potentiometer, carefully set the Second Buck to 6 Volts.

After setting both Bucks to 6 volt. Connecting the Volt Meter to Red and Black
should read 12 Volt.

Now that the Voltage is set, insulate the Bucks with tape.
(Leave the ends open so air can flow through)
(Leave the ends open so air can flow through)

Now the new battery lead is complete, disconnect the batteries from the lead
and connect it to the Power Board inside Cybot.
I held the Power Board in place, against the other boards, with a hair band.
(any sort of elastic band or Nylon Plastic Cable Ties will do)

After securing the Power Board in place, refit the front panels of Cybot.
Then the batteries can be re-connected to the new cable. (Batteries can be
held together with a band or tie)

Place the batteries inside Cybot.

Fit the Battery Lid.

All done, ready to rumble.
NOTE!
The Bucks are fitted to the batteries before the switch on the Cybot.
Un-Plug the Batteries from the Bucks when not in use.
The Bucks will drain the batteries even if the Cybot is switched off.
(If LiPo Batteries are drained below 3 volt, they may be rendered useless).
NOTE!
The Bucks are fitted to the batteries before the switch on the Cybot.
Un-Plug the Batteries from the Bucks when not in use.
The Bucks will drain the batteries even if the Cybot is switched off.
(If LiPo Batteries are drained below 3 volt, they may be rendered useless).
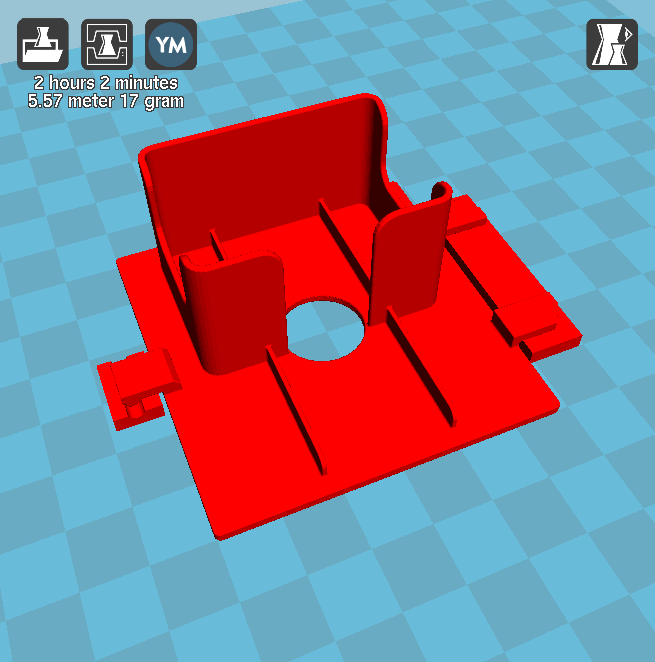
I decided to make some 3D Printed parts to hold the Power Board and the Batteries in place.

STL Files:


The larger Power Board Clip fits the lower part of the Board

Clips attached to the Power Board:

The Power Board Fitted:

The battery support is a modified Battery Cover (Lid):

Top view of top clip, showing how the clips fit:

Thats look nice m8!
ReplyDeleteThank you for leaving a comment.
DeleteAre you going to work on TOM Battery improvement ? :)
ReplyDeleteI hadn't planed on it, at the moment.
DeleteThe thing with Tom is, its not very customizable.
The circuit boards and processors are purpose built and the programming is limited to the software.
What it can do can be watched using the emulator.
It needs too much space to work correctly in real world. (I don't have)
Where as Cybot was a modular project and has the potential to be customized.
Or be usable with other processors.
From what I have looked at so far, Tom has only one voltage, so I should be easier than Cybot.
The hardest part is making a carrier for the batteries.
One buck set to 9v and three Li-Po in series should do it.