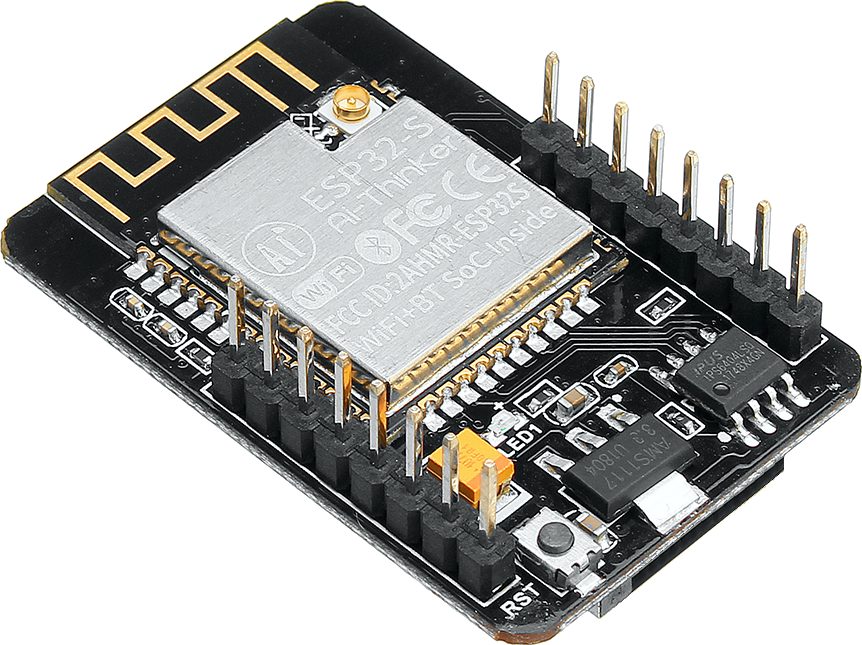
I wanted to give Cybot Sight, that is add a camera to Cybot.
Using an ESP32-CAM module will also enable me to control Cybot from a web
browser.
To control Cybot with the ESP32-CAM module requires tapping into
the Two-Wire Communication Bus.
The Two-Wire protocol used by Cybot is
very similar to the I2C standard, but not quite the same.
So to use a
modified I2C protocol to talk to Cybot, I need to use an Arduino NANO to
translate the ESP32-CAM I2C protocol commands to the Cybot I2C protocol
commands.
To mount all the components for the Camera Board, I used a cheap PY-5CM*7CM perforated board.
A logic level shifter is also needed.
The ESP32-CAM has a 5v input, this goes to a 3.3v voltage regulator, which can
handle more than 5v input. This input is connected to the 6v side of the
battery supply of Cybot under the new power board.
The 6v side of the power supply is for the motors, but by the time it gets to
the motors its about 4v.
So I have connected the ESP32-CAM here before any voltage drop at the battery
supply because the camera and Wi-Fi draws quite a bit of power. If the power
drops it can create a brownout.
The power for the Arduino NANO is taken from the header that stacks through
all the circuit boards.
The pins on the header are:
- Ground.
- 6 volt supply. (I haven't used this due to voltage drop)
- 5 volt supply.
- SCL. Two-Wire Clock.
- SDA. Two-Wire Data.
- Reset for Drive Microcontroller.
Made a cable to go from headers to the Camera Board.
Designed some support and printed them on my 3D printer.
These are the STL files:
Those that end with R in there name require a mirror image making to make a
left version.
I have done code for the ESP32-CAM and Arduino NANO.
They are all in this file: Pub_Cybot_ESP32CAM_Control.zip
There are three versions of HEX file for the NANO, no bootloader, old
bootloader and new bootloader.
I have added XLoader to install your choice.


No comments:
Post a Comment